

On this tutorial, we talked in regards to the significance of clean edges when reducing and pasting composites collectively. Nonetheless, you received’t all the time desire a crisp line, typically you desire a mushy edge round your choice.
Hey there! I’m Cara and as an expert photographer, I typically put collectively collages or different artistic items to show pictures. Whereas doing this, I don’t all the time desire a harsh line round my alternatives.
Let me present you what I imply and the right way to create the mushy impact right here!
Desk of Contents
Softening Choice Edges
As with many issues in this system, there may be a couple of technique to soften edges in Photoshop. Which technique you utilize will rely in your objective with the picture, which choice instrument you select, and so forth.
Let’s take a fast take a look at a number of useful strategies of softening edges in Photoshop!
Word: the screenshots beneath are taken from Photoshop CC for Home windows, if you’re utilizing the Mac model, they’ll look completely different however the steps ought to be related.
Methodology 1: Automated Feathering Whereas Choosing
All of the marquee instruments have already got a built-in feathering function you should use. Merely select what number of pixels you wish to be feathered within the field up within the Choices bar.
The upper the quantity, the extra apparent the impact. Remember that the impact will all the time be extra apparent on smaller photos as a result of they’ve fewer pixels.
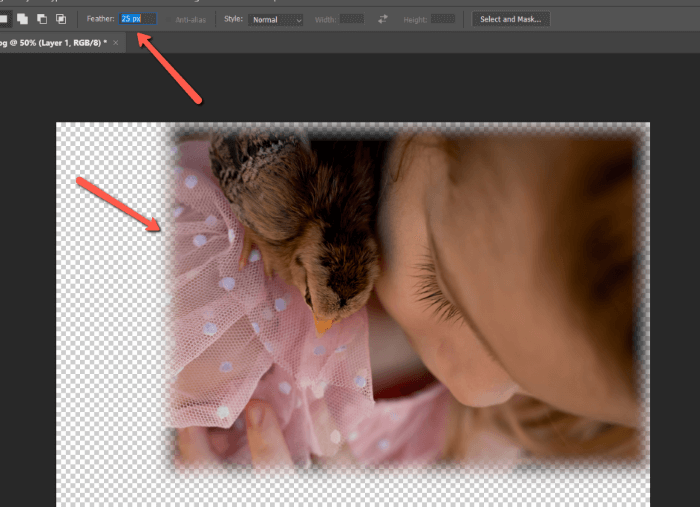
Once I create an oblong choice from this picture of my daughter and paste it to its personal layer, you’ll be able to see it seems with a feathered edge.
Methodology 2: Modify an Present Choice
What you probably have already made your choice? Including a feathered edge after the very fact is easy as effectively.
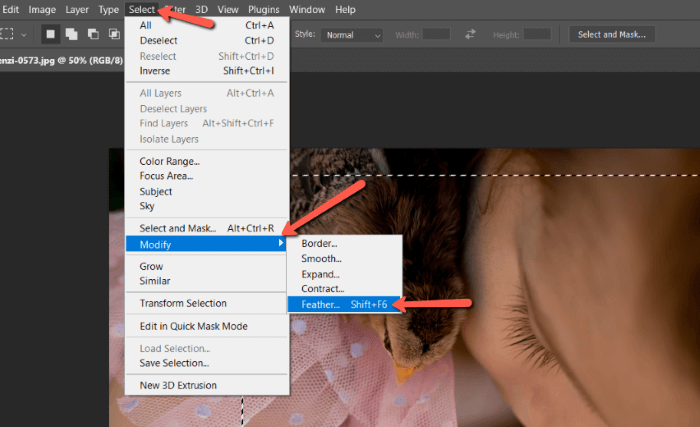
Make your choice, then go to Choose, hover over Modify, and select Feather.
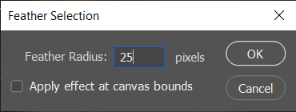
Within the field that seems, you’ll be able to select the variety of pixels. Click on OK.
Then, press the Masks icon on the backside of the Layers panel to see your choice.
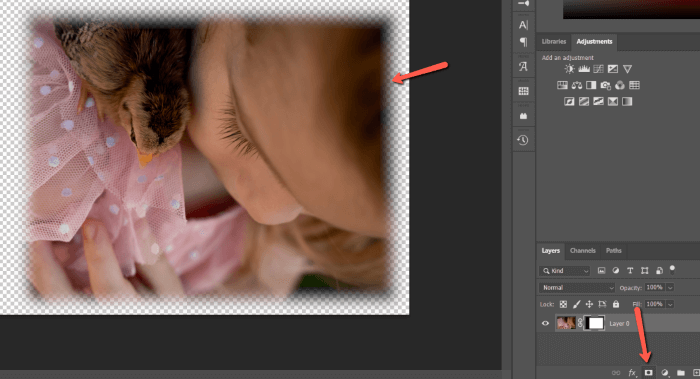
You’ll be able to return to attempt a distinct worth by undoing and redoing these steps.
Methodology 3: Feathering Slider
In fact, undoing and redoing can get clunky you probably have no concept what quantity you want and wish to attempt a number of appears to be like. A greater possibility is to make your choice, lower it out, then use the Feather slider within the properties panel.
Right here’s the right way to do it.
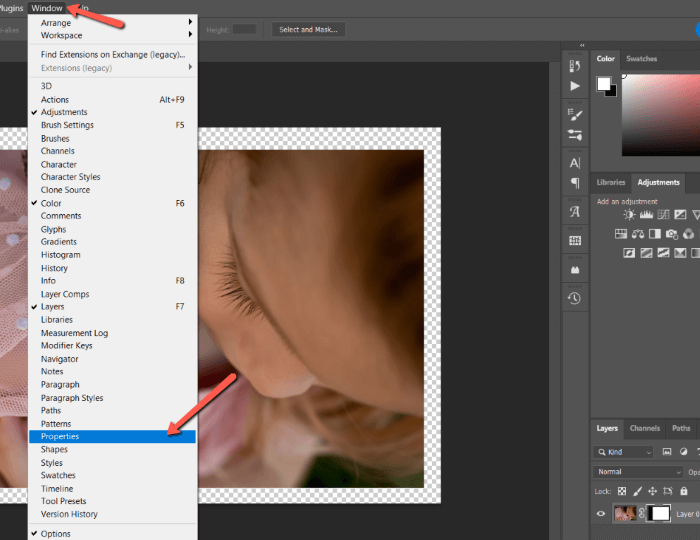
Make your choice and lower it out. Then entry the Properties panel. If the panel is hidden, go to Window and choose Properties from the menu.
From there you’ll be able to seize the Feather slider and go up and down, making a non-destructive edit and simply discovering the precise worth you need.
Methodology 4: Choose and Masks Controls
The controls for this closing technique are discovered within the Choose and Masks workspace. The button seems within the Choices bar when a variety instrument is energetic.

Clicking this button will take you into the Choose and Masks workspace.
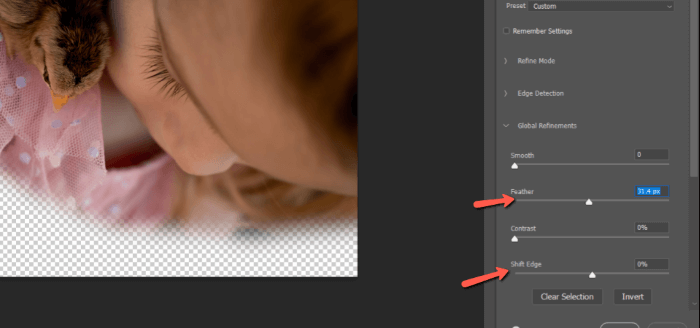
The primary controls are discovered underneath World Refinements. Slide the Feather slider up and down till you discover the spot you want.
The Shift Edge button permits you to transfer the sting outward with a constructive quantity or inward with a unfavorable one. That is useful to regulate the place of your choice with out having to redo it.
Click on OK when completed.
Softening Edges in Photoshop
These are all useful strategies for while you desire a mushy edge in Photoshop. Have enjoyable creating collages or different thrilling paintings with this system!
Eager about studying extra in regards to the energy of Photoshop? Take a look at this tutorial on the right way to create a watercolor portray impact with Photoshop!